Welcome to the official guide. Here you will learn everything about the core mechanics, building your character, and how to create the best weapon synergies to break the curse.
How do I start the game?
To start the game, select: Seek the Blessed, Awake a Husk
What is my 1st goal in “Seek the Blessed, Awake a Husk?”
Your first goal is about building your character.
You will start quests with your character and enter levels where enemies
attack you. All enemies will drop items, weapons, and other materials.
Collect everything and use it to develop and expand your character. You
can combine the weapons you find here so they reinforce each other.
Your 1st Goal
- Find your Husk
- Collect everything
- Expand your Husk
- Assemble your weapon arsenal
Slay the Demon, Break the Curse?
When you feel ready, select the Quest Card where you can fight the Demon to break the curse.
Here you can prove if you have truly created your best build. If you fail, go back to other quests and further develop your character or switch to another one.
Your 2nd Goal
- Fight the demon
- Break the curse
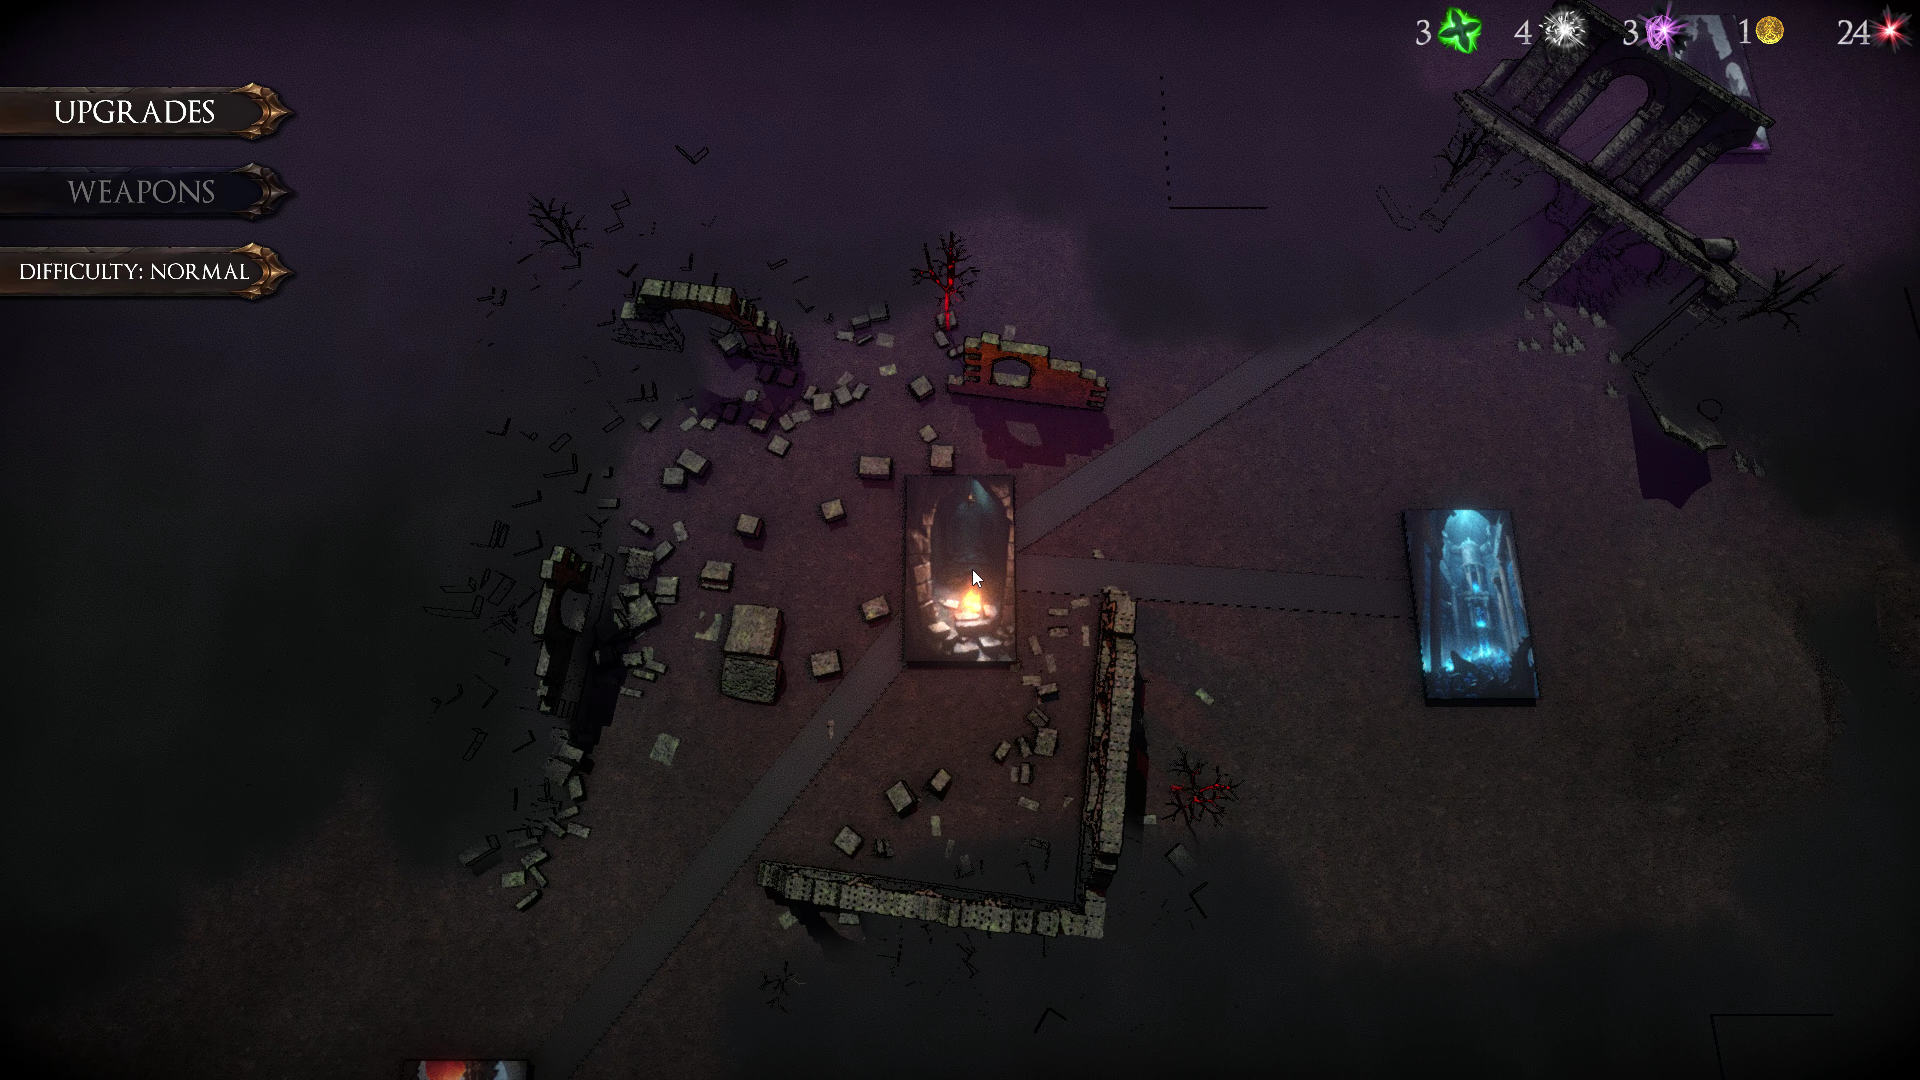
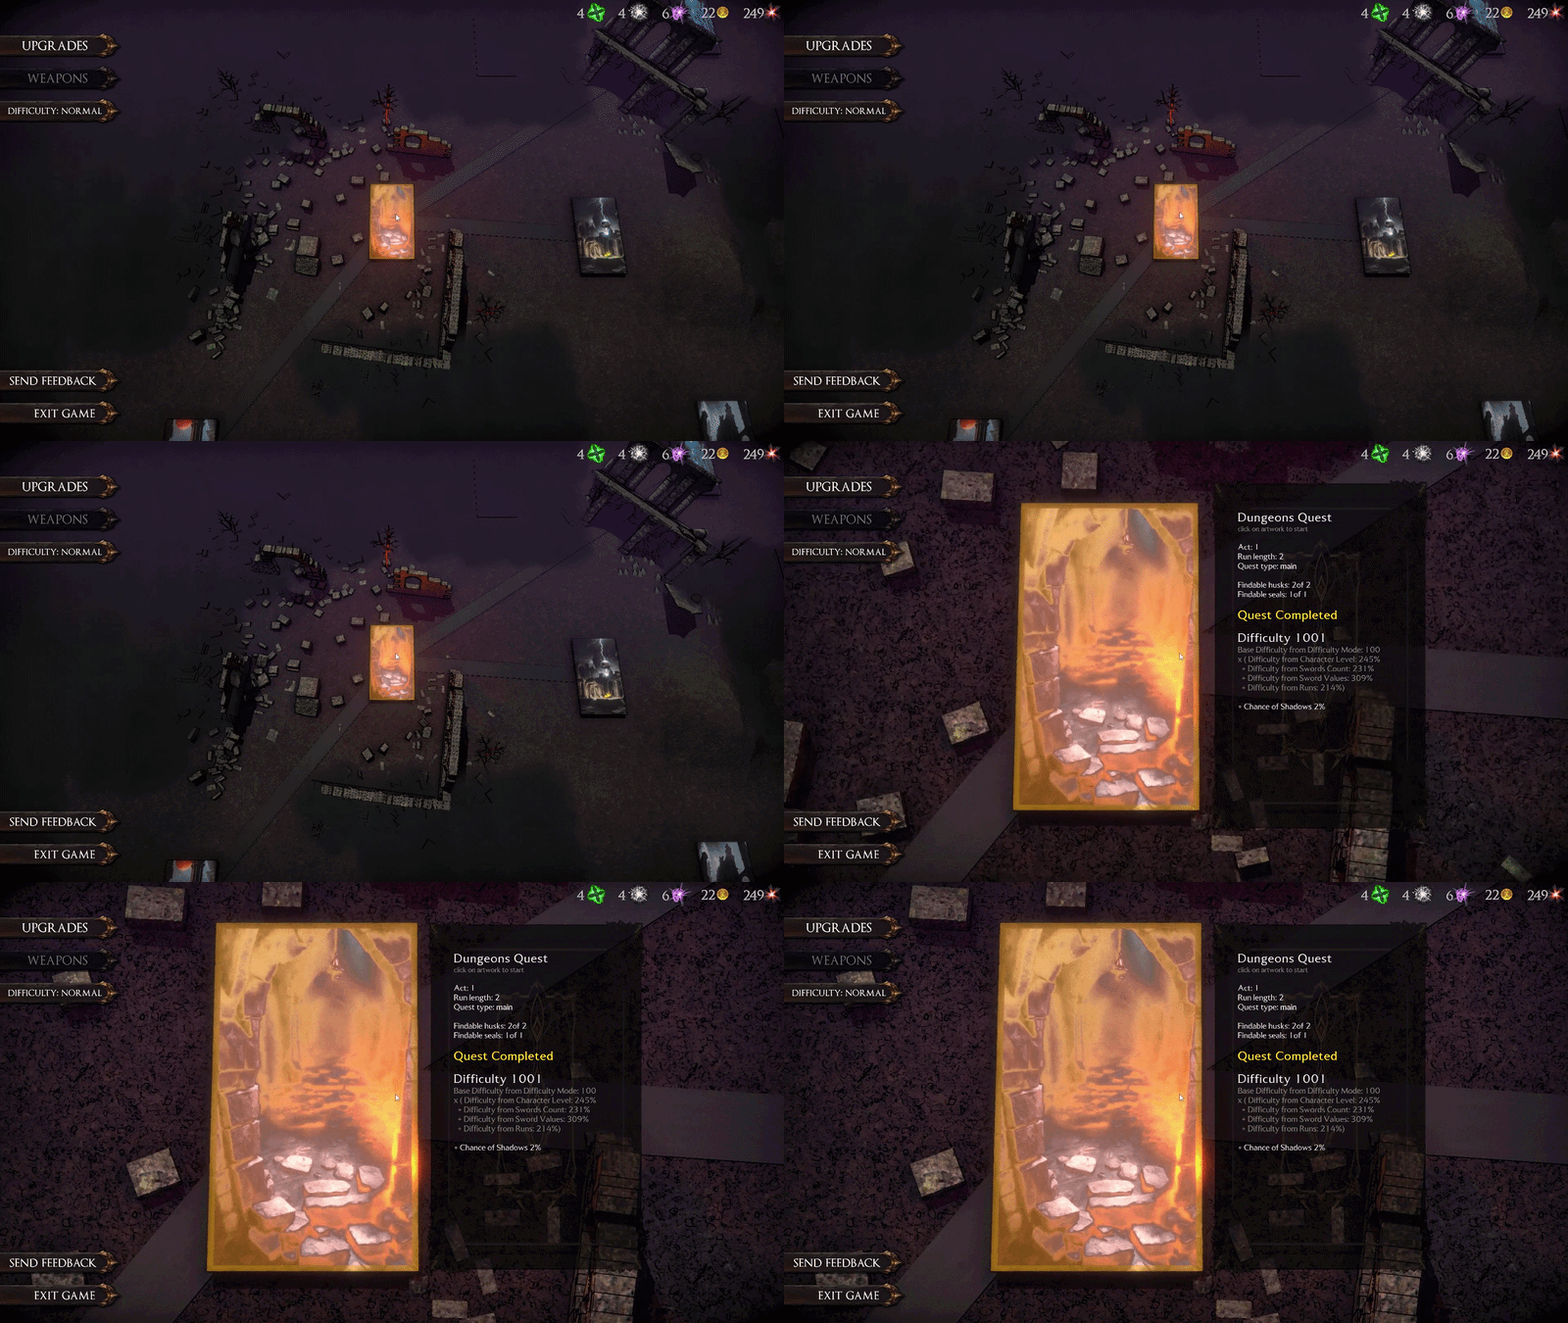
When you start the game, you will enter the Quest Map. This is your starting point.
Select your first quest and try to complete it successfully. After completing a quest, paths to new quests are unlocked. Every quest is different. There are different enemies and number of levels.
| Action | PC |
|---|---|
| Zoom | Scroll wheel |
| Move | Hold left mouse button |
What the Quest Map is
- A sequence of levels (the first quest has 2 levels)
- Upon completing a quest, you receive special rewards
- The quests have different difficulty levels
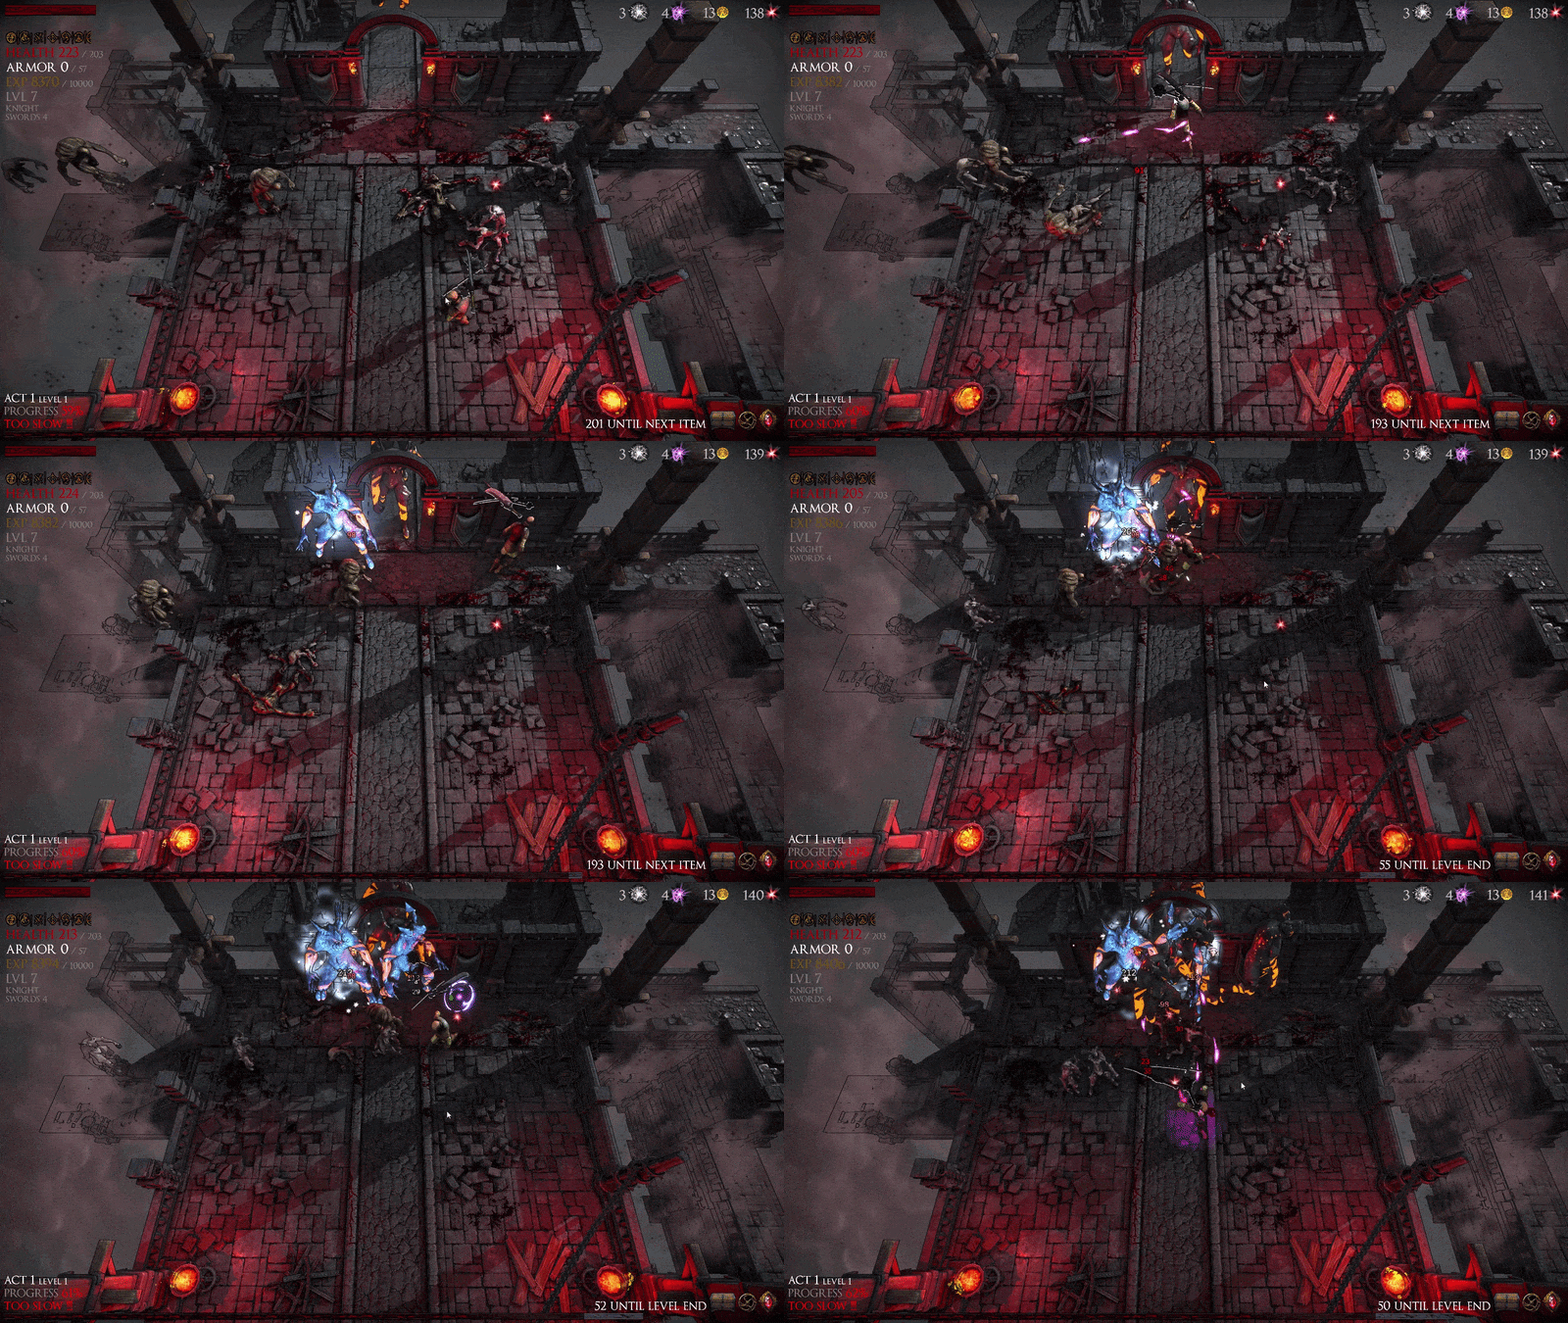
In the level, your swords attack automatically. Walk close to enemies so the swords attack. If your health reaches a critical level, you will turn red.
| Action | PC |
|---|---|
| Move once | Click on location |
| Move continuously | Hold left mouse button and drag |
| Pause | Esc |
Note
- Swords have different ranges
- Enemies too!
- The gray section is the level progress. When it reaches the far right, all enemies have spawned in the level.
- The thin red section shows how many enemies have been defeated. When this line equals the gray one, the level is completed.
- The gray section turning dark red indicates the elapsed time. If you are too slow, the text “too slow” shows that you might not finish the level in time.
If your health drops to zero or you fail to defeat all enemies within the given time, the level ends. The quest is then failed, and you return to the Quest Map. Here you can go to the Upgrade Map and improve your character to be stronger in the next attempt. Or start another, easier quest. Or adjust the difficulty level.
Extra chance: if you collected a Revive during gameplay, you can restart the level directly without starting the quest from the beginning.
Note
- You always keep everything you have collected. Nothing is lost.
- Use this by making small upgrades and getting better step by step.
- If health drops to zero, you failed the level (see health status top left).
- Defeat all enemies before time runs out or the music ends (see progress bar at the bottom).
You successfully completed the level if you defeated all enemies
within the given time.
If items are still lying around, they will be collected
automatically.
What you can do next
- Go to the next level to continue the quest (if it is not the last level).
- Return to the Quest Map. Your game progress is not lost; you can continue from there later.
- Go to the Upgrade Map to convert your collection into ability expansions before the next level.
The Upgrade Map is the central element to expand your character’s attributes. The attributes have different costs and multiple tiers. To unlock the first attribute upgrade, you need at least one Level Up.
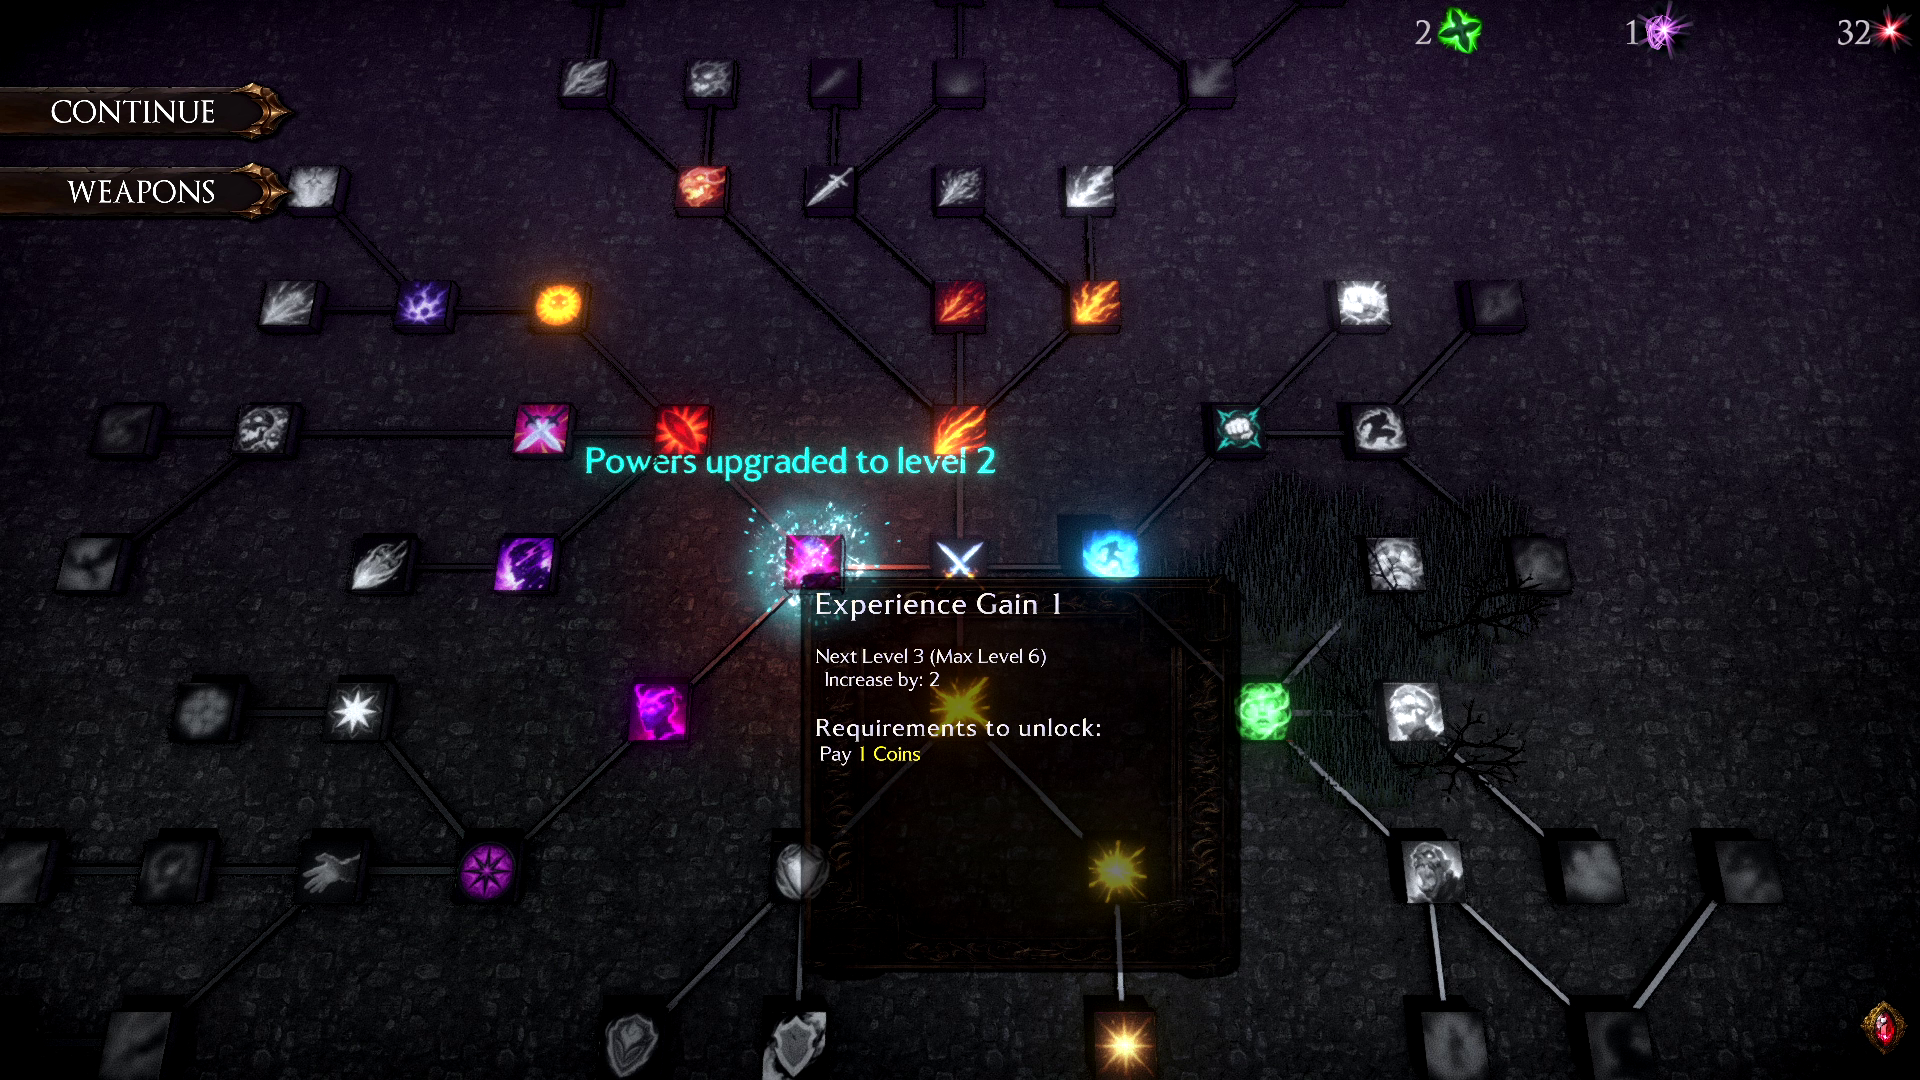
Note
- You control the game progression with the Upgrade Map.
- Look for “More Enemies” if the game becomes too easy for you.
- The upgrades affect weapons and characters.
- You can see the complete Upgrade Map from the beginning.
On the top left, you can see your EXP and how much you still need to increase your character’s level. A Level Up will help you unlock specific attributes in the Upgrade Map.
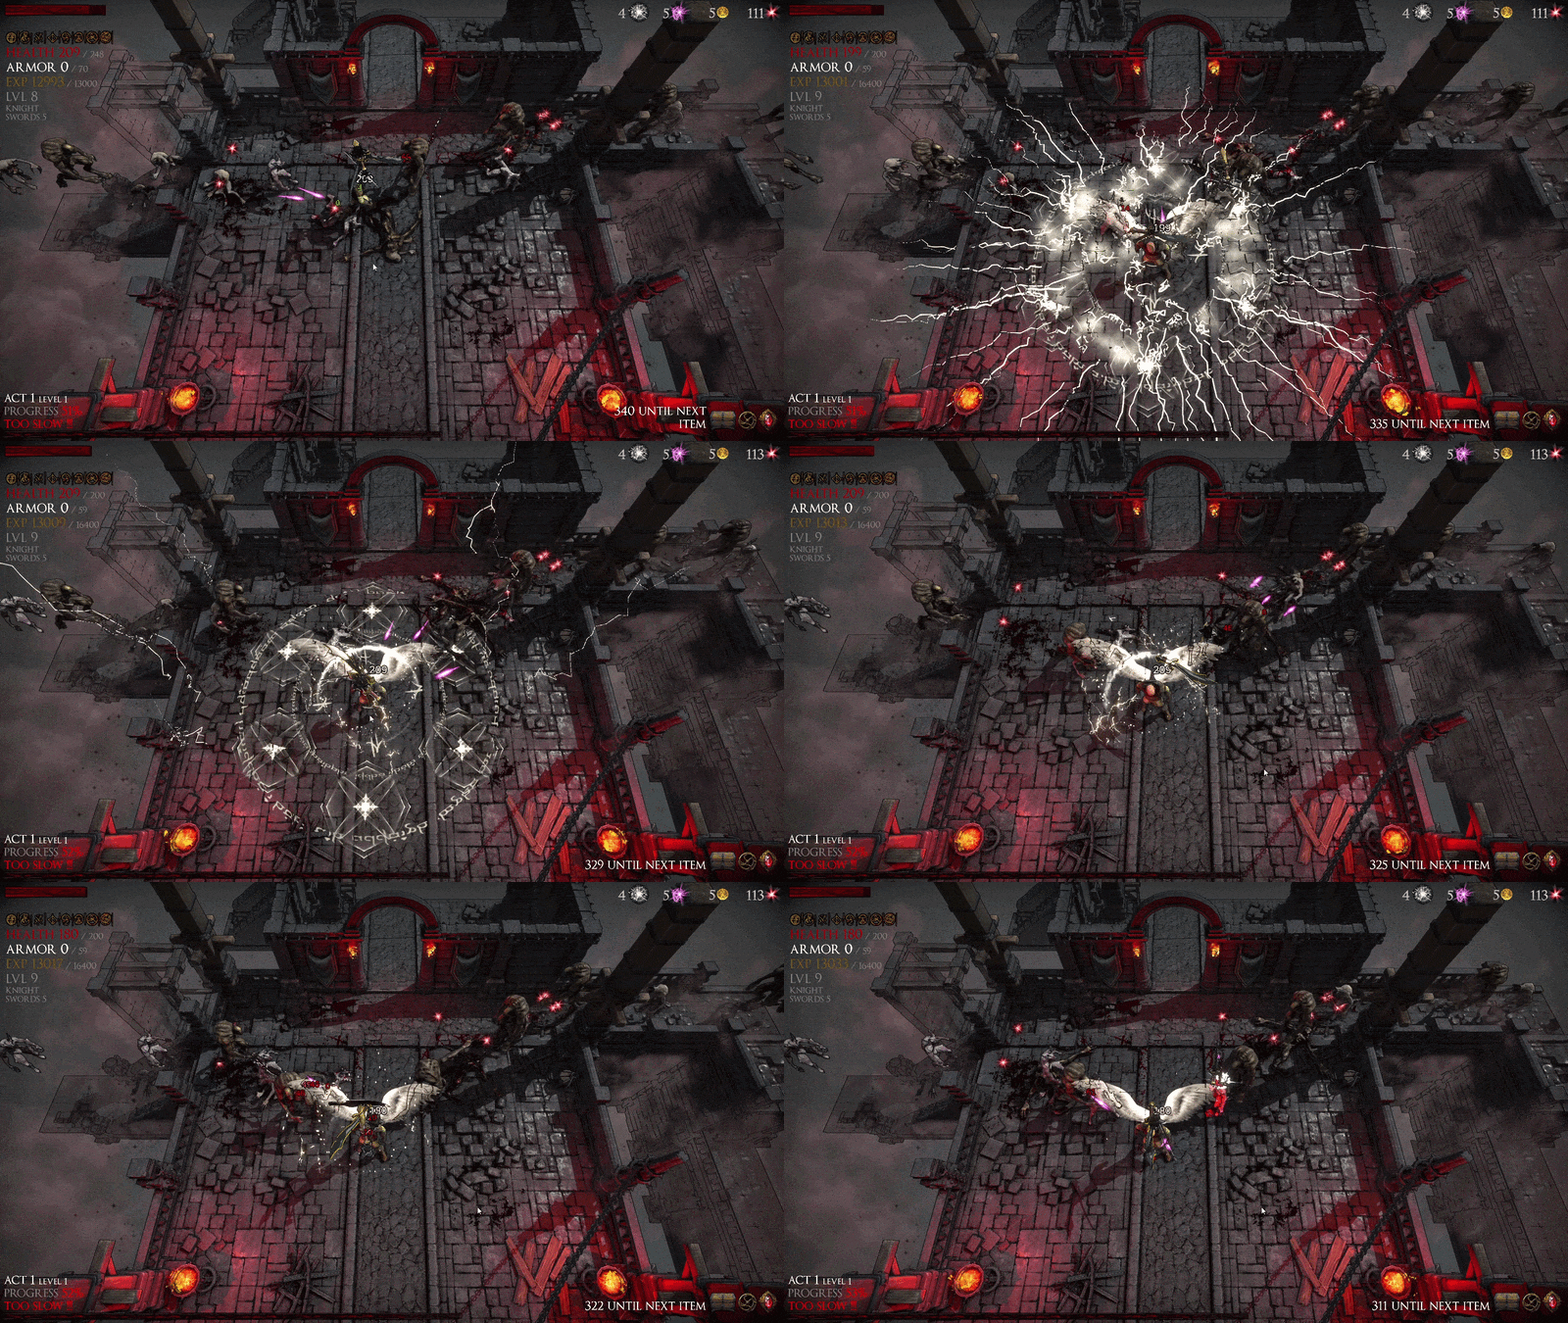
Summary
- It heals you instantly in the level.
- Levels up your character: you can equip weapons with higher rarity.
- Gase stats will be increased (Speed, HP, Armor).
- Level ups are shown as green currency in the Upgrade Map and can be used to pay certain upgrades.
Besides the difficulty mode you can select on the Quest Map, there is also an automatic calculated difficulty level. All levels share the same baseline difficulty structure. The difficulty is calculated as:
Selected difficulty mode x (level of current character + number of swords + value of swords + number of successfully completed quests).
Note
- The difficulty adjusts as soon as you equip a new weapon and enter a new level.
- Higher difficulty means randomly more difficult enemies.
All your weapons are collected in the treasure chest. At the top, you can see all currently active weapons, fighting automatically for and around your character. The number of weapons is limited. It can be increased by actively expanding this ability in the Upgrade Map. In the lower area, you can see all the weapons you have found.
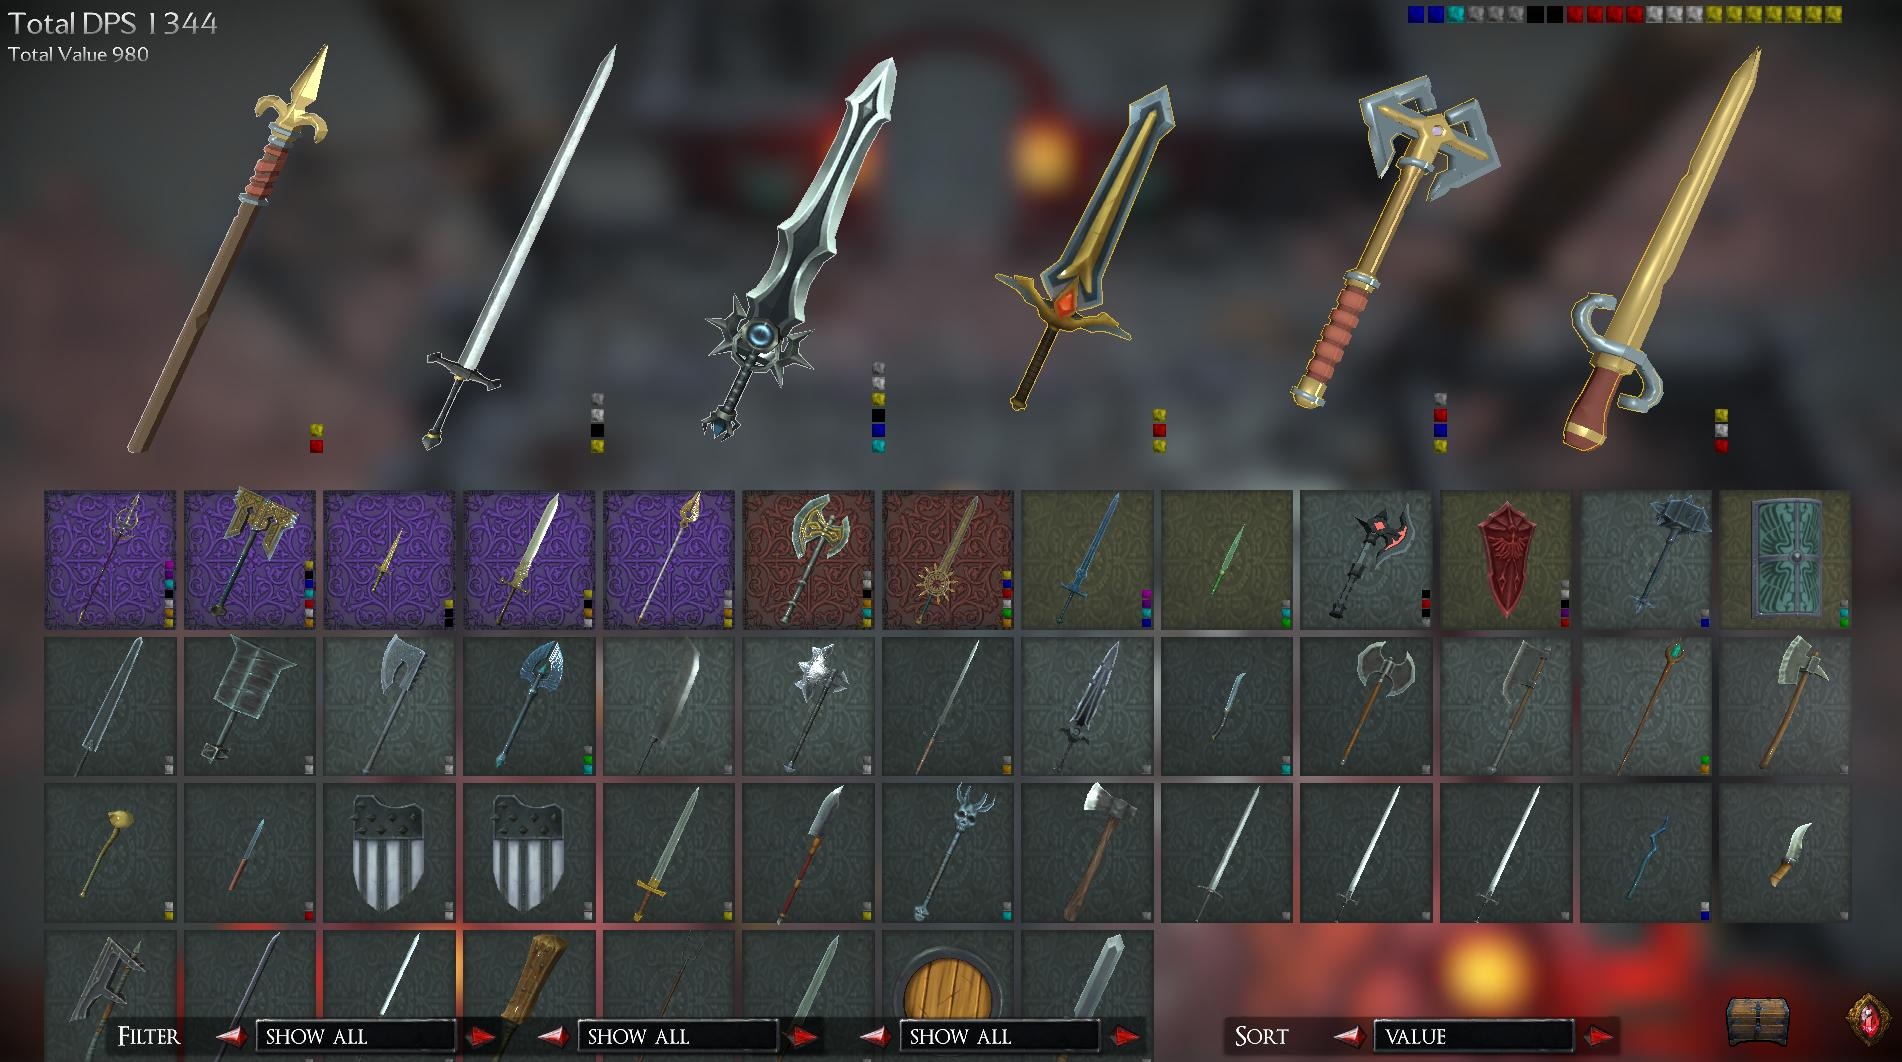
| Action | PC |
|---|---|
| Select weapon | Drag and drop upwards or right mouse button |
As soon as the ring closes, the last enemy you defeated will drop a sword.
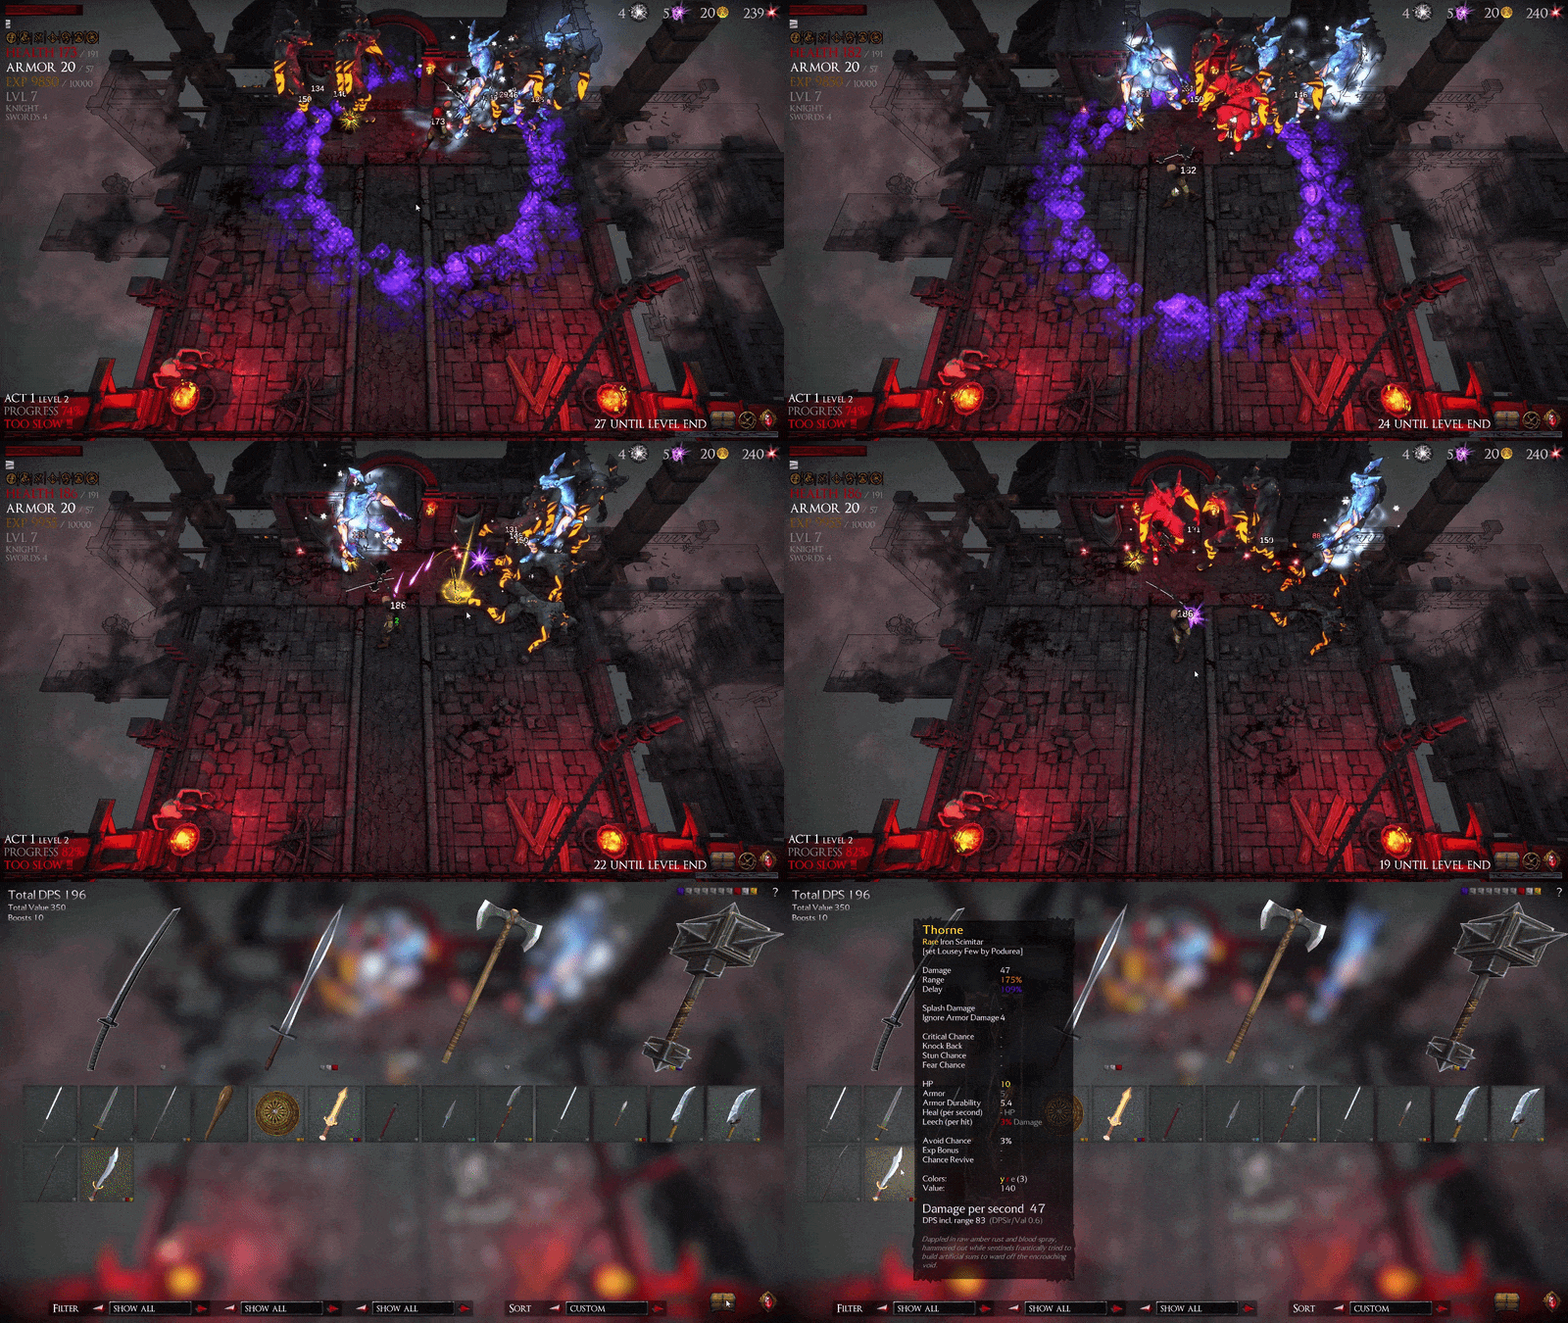
Note
- The sword drops at the location of the last defeated enemy.
- Listen to the whispers of the souls.
- In the bottom right, you can also see when it will drop.
Your character needs a well-thought-out selection of weapons. Each weapon reinforces specific character attributes. In fight, you will find swords, daggers, clubs, shields, and other weapons. With some luck, you will find rare weapons with special attribute enforcement.
The special feature: You can combine all weapons. The weapons influence each other and give additional reinforcements, if combined wisely.
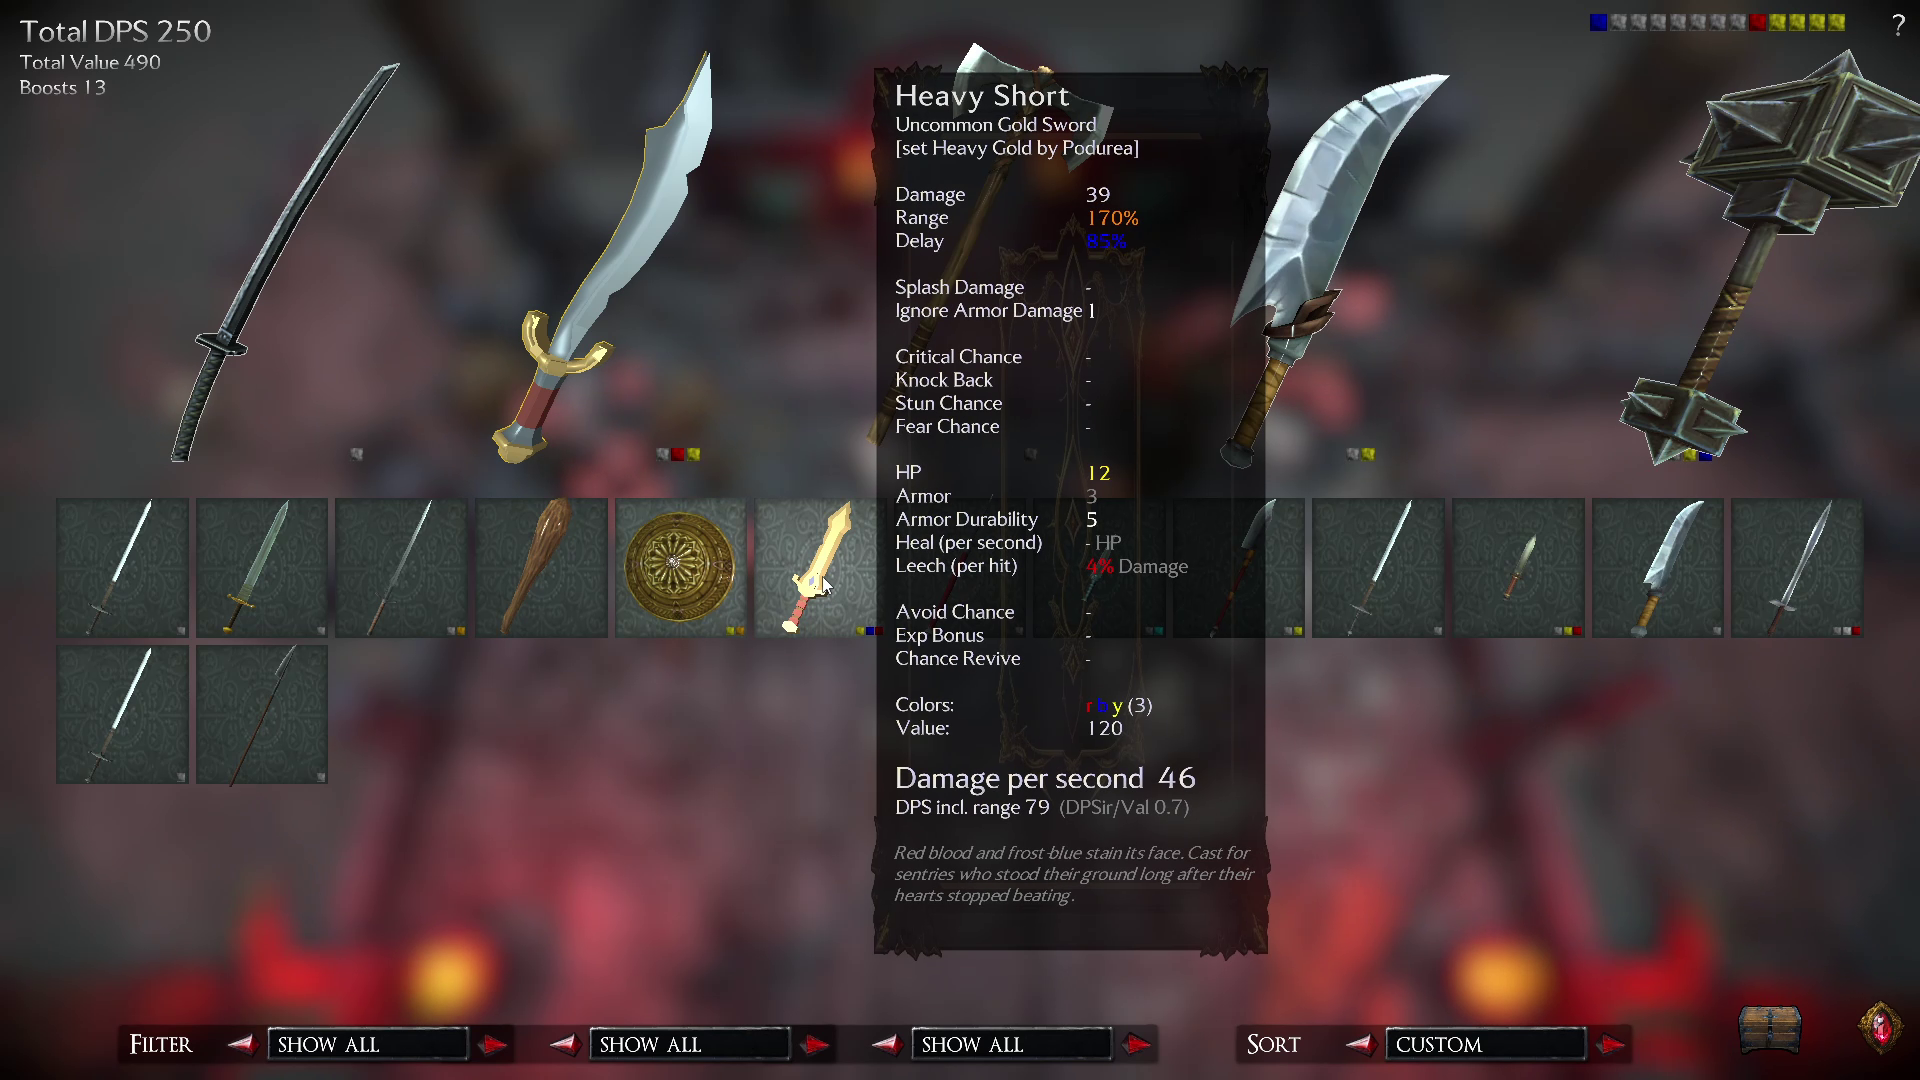
Please note:
If you look at the stats of the weapons you have not selected yet
(tooltip of the swords at the bottom), you will see their individual
stats. These stats change for every weapon when you drag them
up and equip your character with them.
Reason: Equiped weapons show the final attribute of the character considering all boosts, upgrades and experice level.
What to do first
- Select the weapon you like to use.
- Pay attention to Damage.
- Pay attention to Range.
- Pay attention to the DPS (Damage Per Second) value.
- Pay attention to the DPS including Range result.
By getting deeper into the details of each weapon, you will find individual stats. Each weapon will affect your character’s attributes, such as:
When you look at the weapon, you will find specific colors. The highlighte colored attributes are a quick and intuitive way to combine the weapon with each other. It is a quick and intuitive way to select all weapons you like supporting a specific attribute enforcement (for example Green=Heal). By selecting all weapons with green, your ability to heal during fight will be enforced.
On the top right of you inventory you see the colors or your actual build:
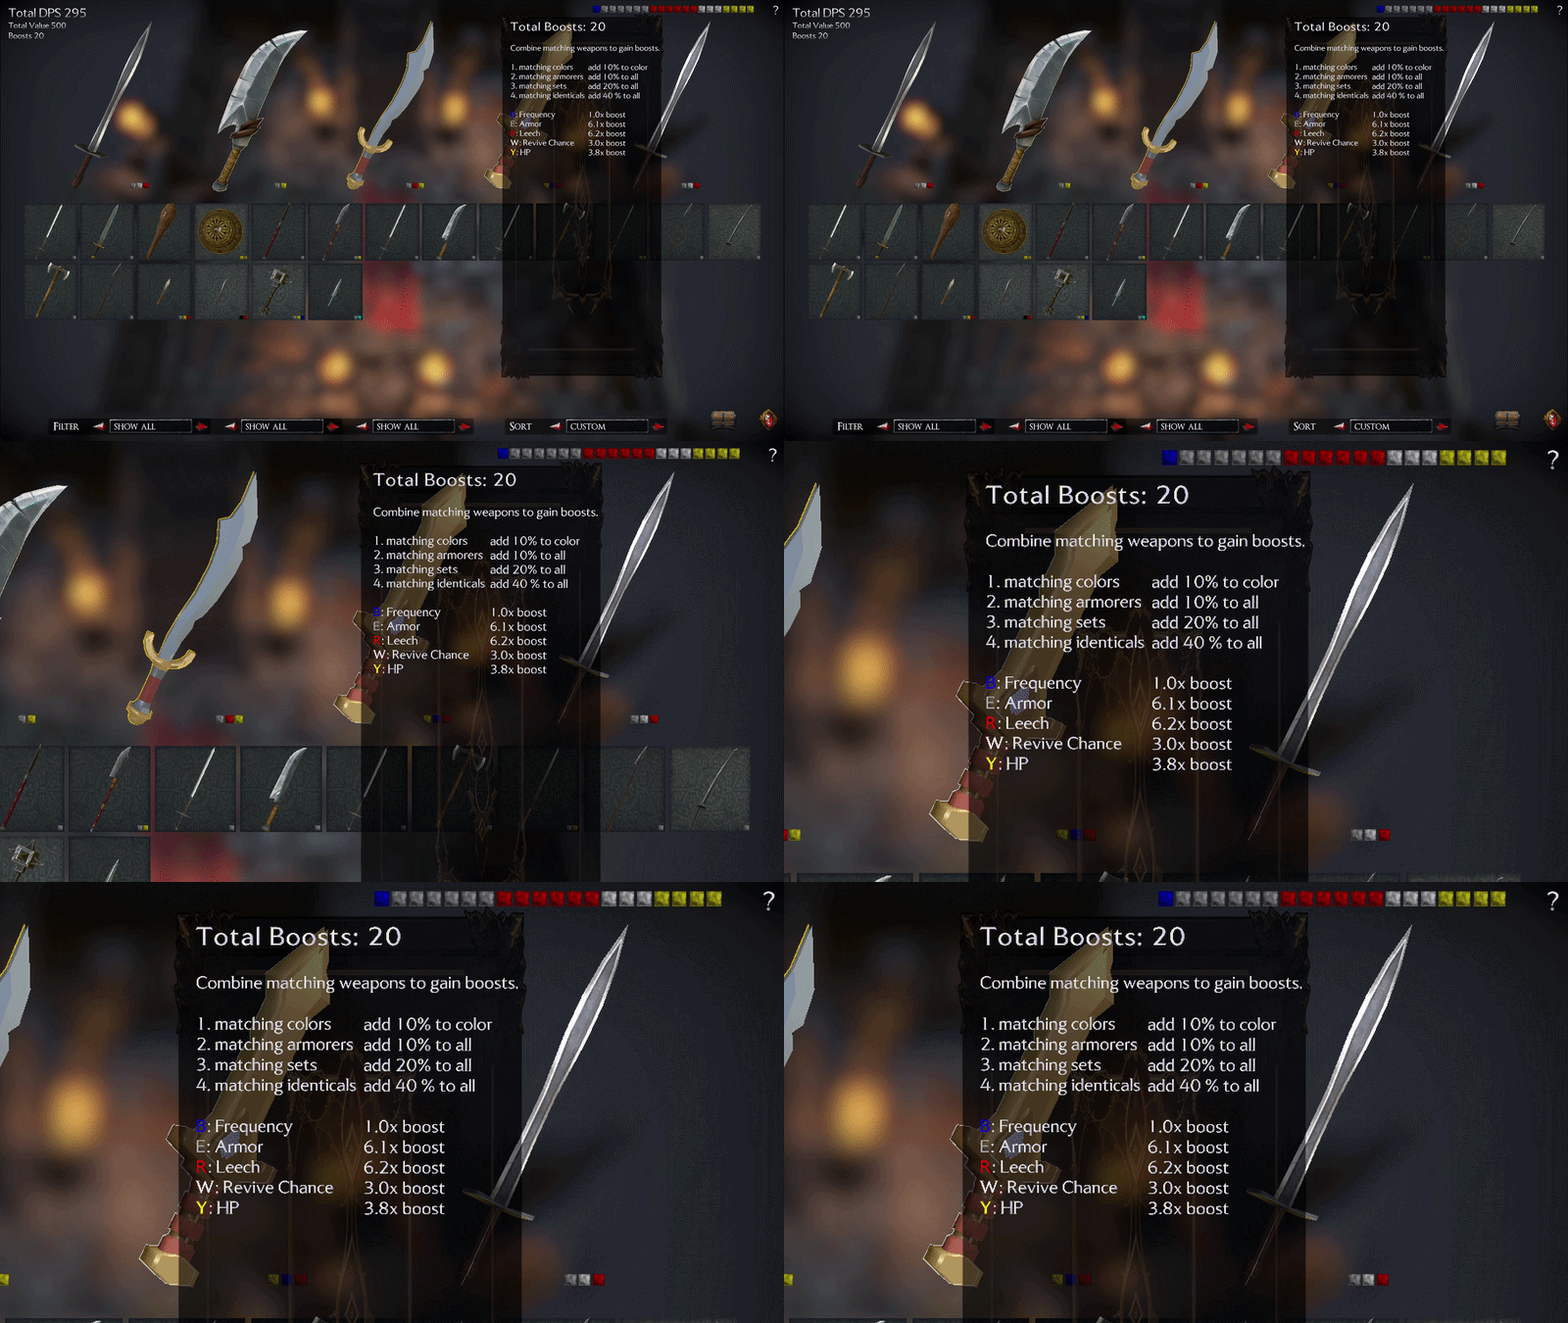
| Attribute | Color | Description |
|---|---|---|
| Frequency | Blue | How fast the weapon attacks |
| Armor | Gray | Protection from attacks |
| Leech | Red | Drain health from enemies |
| Revive Chance | White | Chance to receive survival loot |
| Health Points | Yellow | Amount of health |
| Heal | Green | Heals upon landing a hit |
| Experience | Pink | Get more experience |
| Fear | Purple | The enemies fear you |
| Critical | Black | Critical damage |
| Stun | Cyan | Freeze of the enemies |
| Range | Orange | Extend the range of your weapons |
Example:
- A sword is color coded blue.
- This corresponds to the “Frequency” ability (how fast the weapon
attacks).
- A second sword color coded blue, too.
- You equip your character with these two swords.
- Result:* Both swords receive a bonus to
Frequency.
What to do next: your first build
- Get familiar with the colors.
- Select and equip your character with weapons having at least one same color.
- Fight.
- If you feel it is not strong enough, get back and try new combinations with different colors.
The damge per second (DPS) you are achieving with your actual build can be seen on the top left:
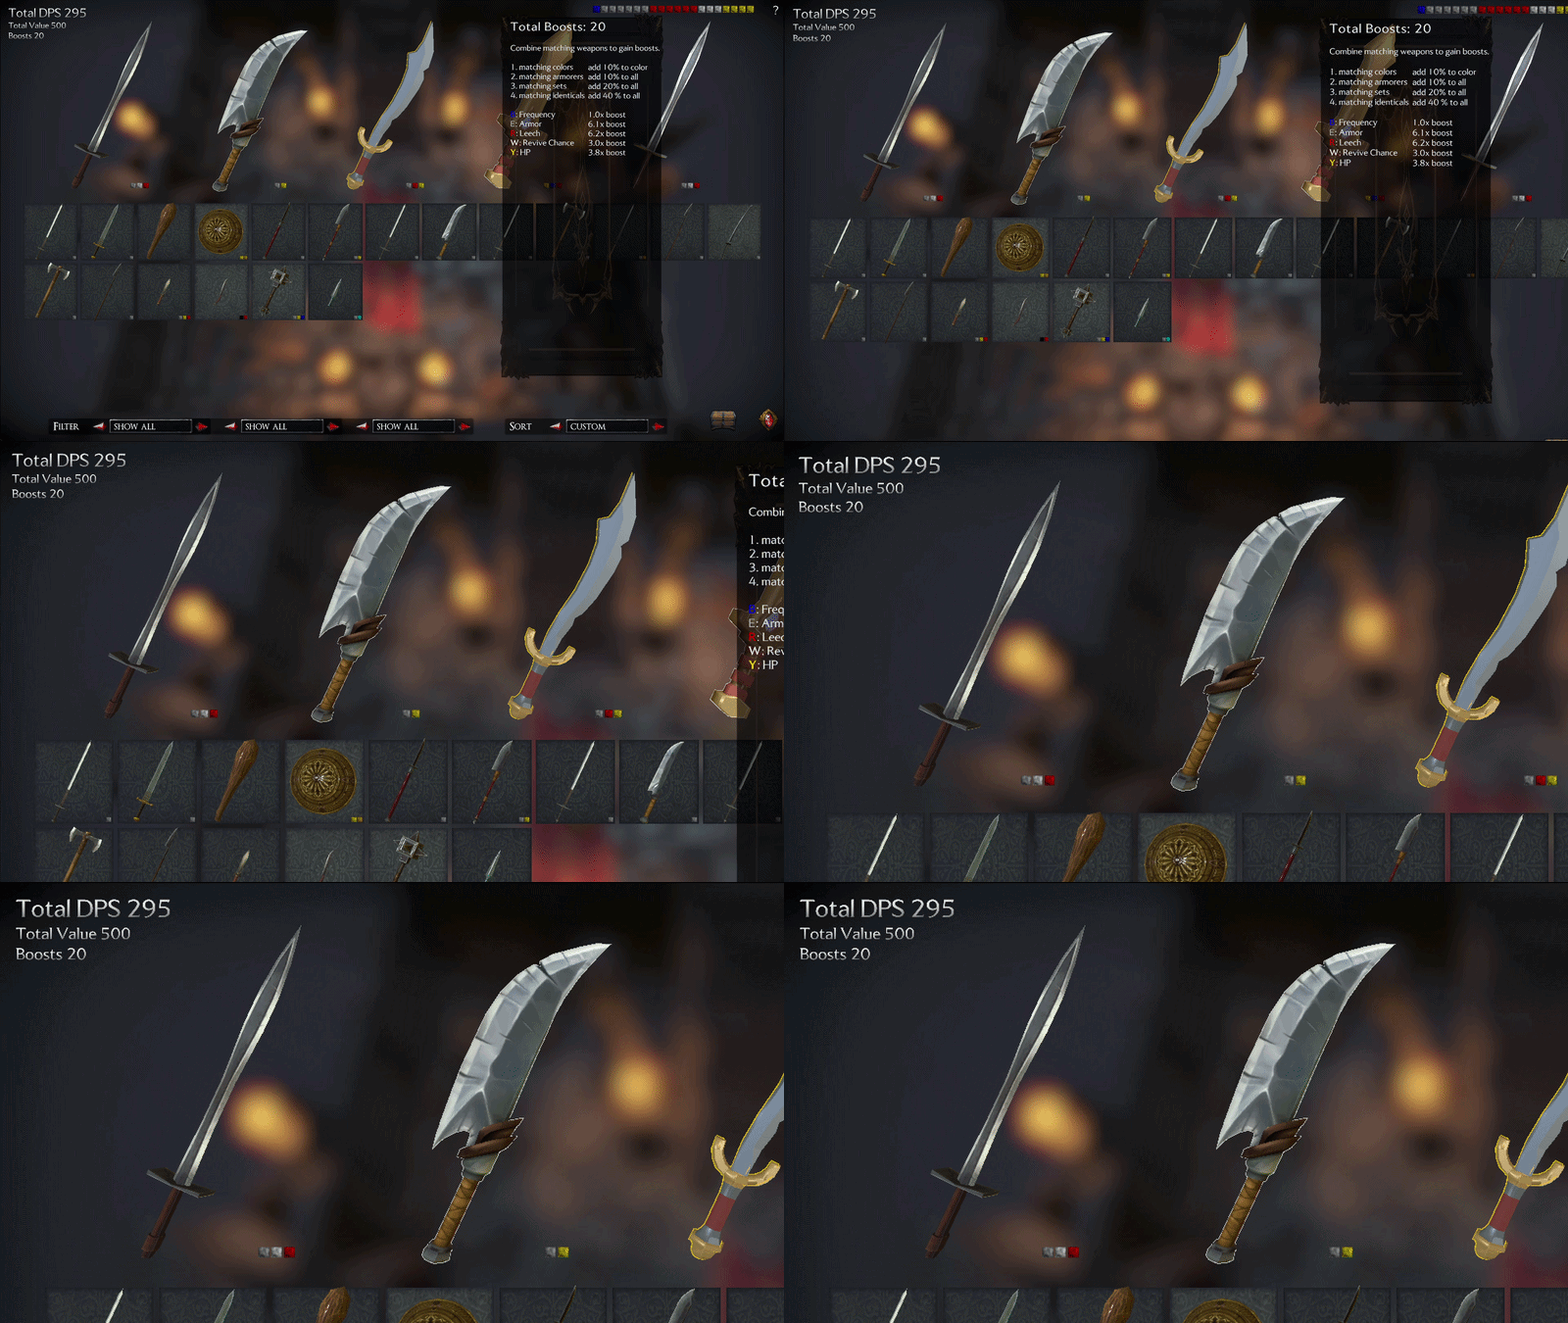
The more experience your character gets, the more weapons you will
find. You will find weapons which will contribute to other attributes,
such as:
- Splash
- Knock Back
- Avoid
- Normal Physical Damage
- Ignore Armor Damage
- Armor Durability
Those attributes will be enforced by other characterics, such
as:
- Selection of the same set of weapons
- Material choice
- Rarity
- Identical weapons
Note: they are not color coded. You will find them in the description of the weapon in the tooltip
What to do next: further develop your build
- Fight different quests.
- Find more weapons.
- Go back to your inventory (treasure chest)
- Check the DPS and other stats.
- If you fail, go back, select different weapons.
- Do not forget to Upgrade your character in the Upgrade Map!
Rarity - a special note to the
rarity:
- All weapon types and sets have different rarities.
- The rarity is linked with the rarity of the enemies (rare enemies=rare
weapons)!
- Rare weapons have higher base values compared to non-rare
weapons.
- Categories: Common, Uncommon, Rare, Epic, Legendary, Mythic
Summary
Selection Effect Attributes of the same color Boost to the specific ability Same Maker (Armorer) Bonus to all attributes Same Weapon Set Boost to all attributes Identical Weapon All attributes maximally reinforced Rarity Bonus to all attributes Material Bonus to all attributes
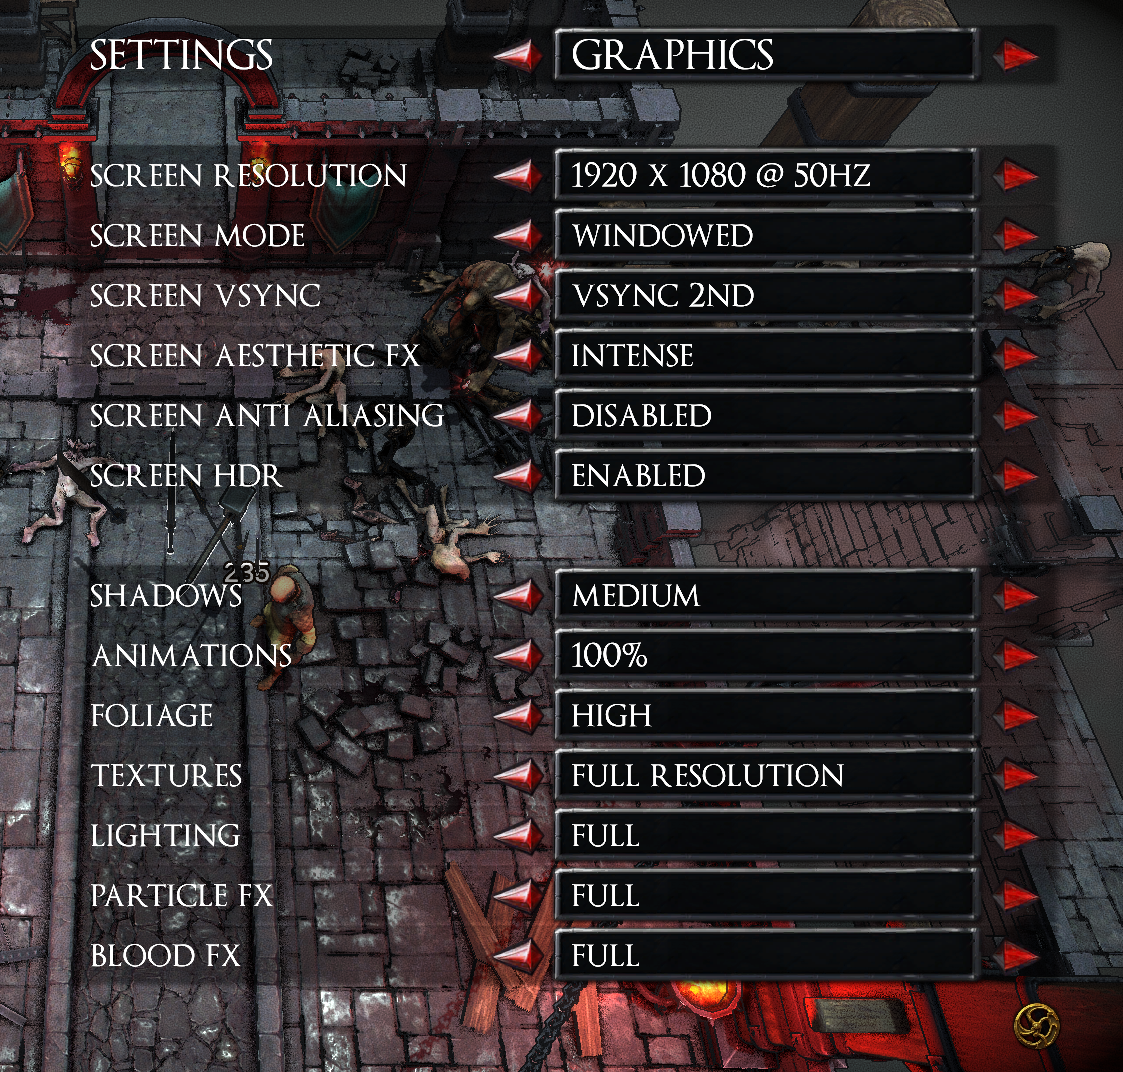
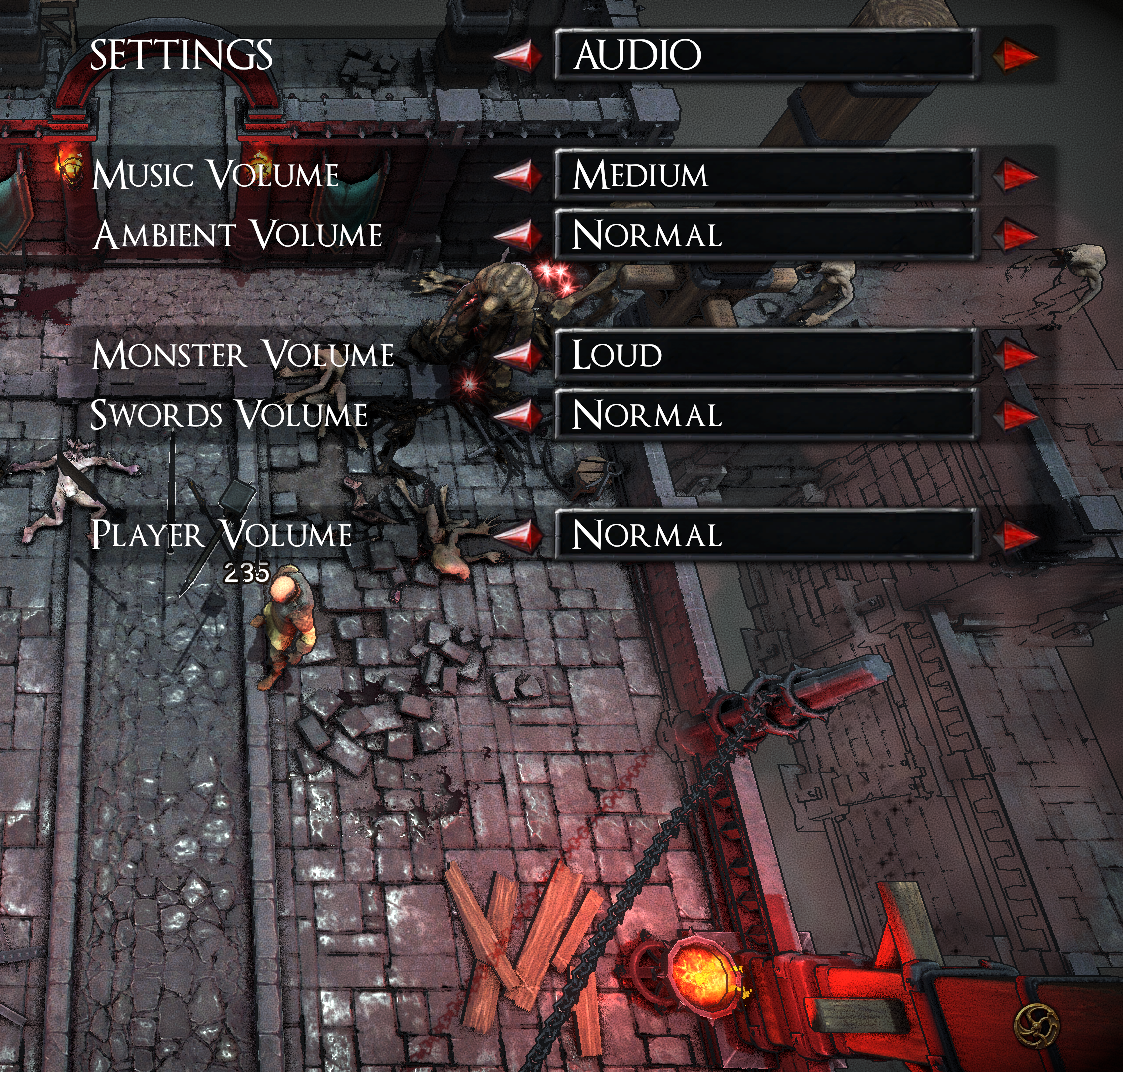
You can access the settings from level through the icon in the right
corner (the game will pause):
Grafic settings:
Audio settings:
Can I equip an infinite number of swords?
- No, only as many as you have expanded in the Upgrade Map.
- If you exceed the maximum number of swords, you cannot return to the level.
Upgrades: Can I see and level up all upgrades from the beginning?
- No, only unlocked upgrades can be seen and leveled up. If nothing is unlocked (meaning you cannot see what it is), the current one must reach a higher tier first.
After that, you can see it and increase it to the maximum.
Does the order of levels and quests matter?
- Yes, almost. The difficulty is calculated based on the difficulty mode, character level, number of swords, value of swords, and number of completed quests.
- So it depends more on how long you play and which swords you equip. There are levels and quests with special game elements (e.g., lightning orbs) that are a bit more difficult.
- Decide by feeling which level fits best for you next. And if you fail, just try it again.
Do I lose my collection on Game Over?
- That is the special part: you always keep everything!
- Just make sure you collect it early enough. And check the Upgrade Map: there is an ability to automatically collect everything from a very large distance.
- If you expand that, it will be easier to have everything safely collected before you get a Game Over.
Can I repeat quests after they are completed?
- Sure. You can repeat quests as often as you want.
What can I do in the Quest Map?
- The Quest Map is a run. It consists of a number of levels and will give you rewards upon completion.
- Through the quests in the Quest Map, you can unlock new characters, among other things, by completing them successfully.
Is the Purple Ring a good thing or a bad thing?
- A good thing! The closing ring indicates that an enemy will drop a sword soon.
Sword System: is DPS or Range more important?
- That depends on the weapon setup.
- A high DPS (Damage Per Second) value is important, as it allows you to deal a lot of damage in a short time.
- However, if you only have weapons with very short range, you won’t defeat enough enemies in the given time. Remember: the higher the difficulty, the more enemies.
- In this case, it is worth looking at the DPS x Range value: You might deal less damage per second, but you defeat the enemies before they even reach you.
What does Armor or Heal on a sword mean? It is a weapon, not a shield.
- That is true. This is an unusual attribute for weapons (e.g., Health or Armor). But that is part of Cursed Soulless Vagabonds and its lore.
- You were once a god, and the only thing left of humanity are the weapons…